

Well hello there.
I had a customer that was wanting to do some work using scripting to create NSX-T segments and DFW rules in VMConAWS, for their PROD SDDC and for their new VCDR SDDC.
Over the years I have seen a lot of people think that copying the VM data and being able to recover is the hard part when that can be the easiest part. Things like VCDR are designed to get your copies of the VMs up and running, but what about the networking and firewall rules you need to ensure communication works and is still secure?
So, this ended up being a discussion on the various ways to create rules on both SDDCS and this led to trying out some PowerCLI.
Now in the latest versions of VMConAWS you can access the NSX Manager directly, using a reverse proxy. This was introduced as customers were finding the latency when using the Networking & Security tab in the portal very slow, as it routes back to the USA.
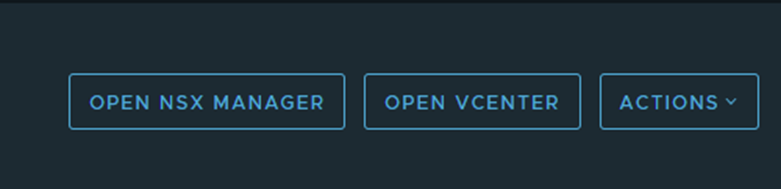
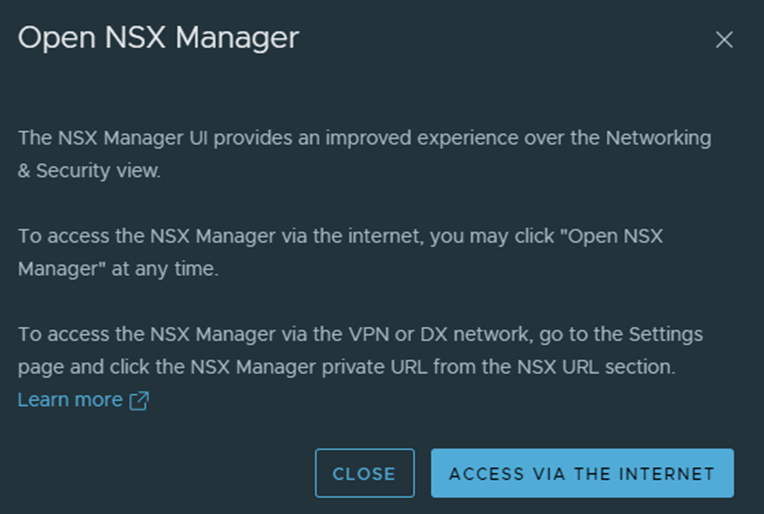
So now you can click that link and get direct access to the NSX-T Manager, now even though you have that access, you still do not get all the NSX-T features as you would get with the on-premises deployment. Certain things are filtered out as only the back-end team only have access to them.
So now we can use the PowerCLi Module:
VMware.VMC.NSXT to get access to NSX and do magic things and stuff!
PowerShell Gallery | VMware.VMC.NSXT 1.0.17
So interestingly I use PowerShell ISE a lot, and this module needs at least PowerShell 6 to run. So the issue you have is that PowerShell ISE does not work beyond version 5. So this has now meant I have to finally move over to using Visual Studio Code!
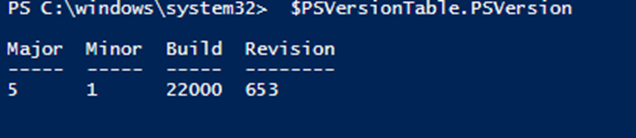

The VMC NSX-T modules created by William Lam call out that you need v6 of PowerShell as a minimum!
So now we have got that out of the way let us crack on!
First let’s log into VMC:
Connect-Vmc -ApiToken YOURAPITOKEN
You can get your API token from here:

Once you are connected to VMC you can now login to the NSX-T Manager using the reverse proxy:
Connect-NSXTProxy -RefreshToken YOURAPITOKEN -OrgName YourORG -SDDCName YourSDDCNAME
Now that has all been done, you are ready to script things!
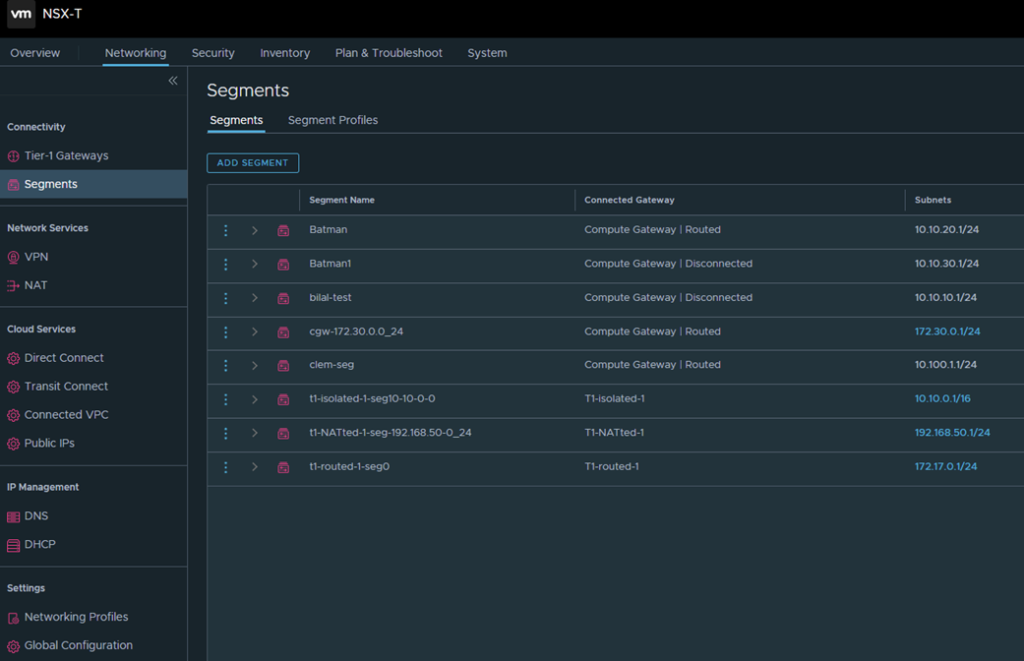
Create new NSX-T Segments:
New-NSXTSegment -Name Batman1 -Gateway 10.10.30.1/24 -Disconnected

Create new DFW Rules:
New-NSXTDistFirewallSection -Name "Batman-DFW-Section" -Category "Application"

New-NSXTDistFirewall -Section "Batman-DFW-Section" -Name BatmanTestRule1 -SourceGroup 10.10.10.10 -DestinationGroup 172.17.3.101 -SequenceNumber 100 -Service HTTPS -Action ALLOW

Create Gateway Firewall Rules:
New-NSXTFirewall -GatewayType CGW -Name "Batman-GW-Test" -SequenceNumber 1200 -SourceGroup 172.30.0.0_24 -DestinationGroup Any -Service Any -Action DROP -InfraScope "Internet Interface"

So, there you go, hopefully, that helps you use PowerCLI to programmatically create all the rules you need across your SDDCs!
Leave a Reply