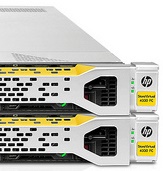
I’m a big fan of HP StoreVirtual. It’s a great solution for stretched storage clusters, and I’ve worked on numerous environments with StoreVirtual at the storage layer.
Firstly, if you don’t know what StoreVirtual is and how it works:
- It’s a clustered SAN solution, usually comprising of a minimum of 2x nodes but you can use a single node.
- They’re actually HP DL3xx servers full of disks; they use HP RAID controllers (normally 4xx series) and the same discrete cards you’d expect to find in servers not running for storage alone.
- Locally, disks run in RAID (5 for some models, 6 and 10 for others).
- Volumes that are presented to servers can be configured in “network RAID” such as network RAID 10 – this means that data is mirrored between nodes, you need 2x minimum – and when the data is read can be read in a RAID 0 fashion, increasing performance. Don’t think of it as traditional RAID 0 though, as you can lose a node and still access your storage. You can also use network RAID 10+1 (and +2) which just means that there is an extra node or two for redundancy, which is more expensive.
- The “servers” or nodes run LeftHand OS which is a Linux-based storage OS.
- Most nodes ship with a 10Gb SFP+ card pre-installed as well as 4x 1Gb LOM NICs.
- Each node has a single controller, there is no redundancy there – so a failed controller on a node means a failed node.
- It works best with 10Gb networking – either SFP+ LC modules and fibre cables or DAC SFP+.
- It also works best with 10Gb networking minimum between nodes / sites.
- All in all, this results in some ridiculously high availability as you scale out!
All StoreVirtual nodes ship with iLO Advanced as standard which is nice, I wish all their normal servers did too… then again, these are a bit pricey!
So I did some pre-configuration of nodes this week before shipping them to my customer.
Firstly, I didn’t have access to a DHCP server as they were configured in a standalone lab. So I booted each node into Intelligent Provisioning and manually assigned iLO IPs to each of my nodes as below:
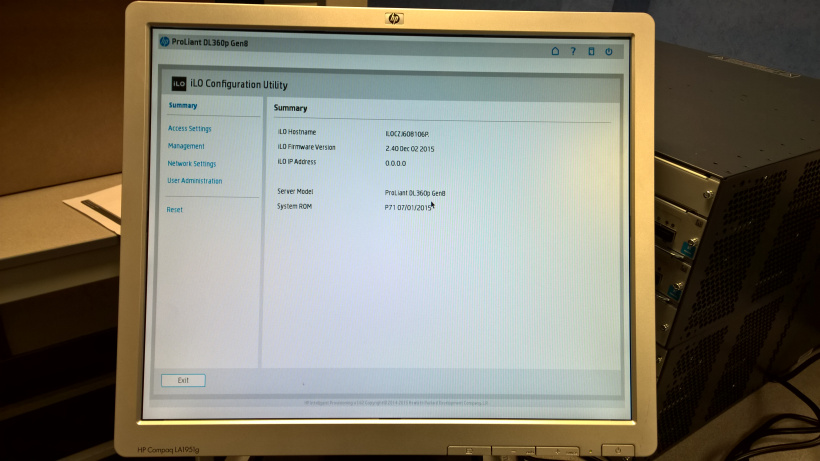
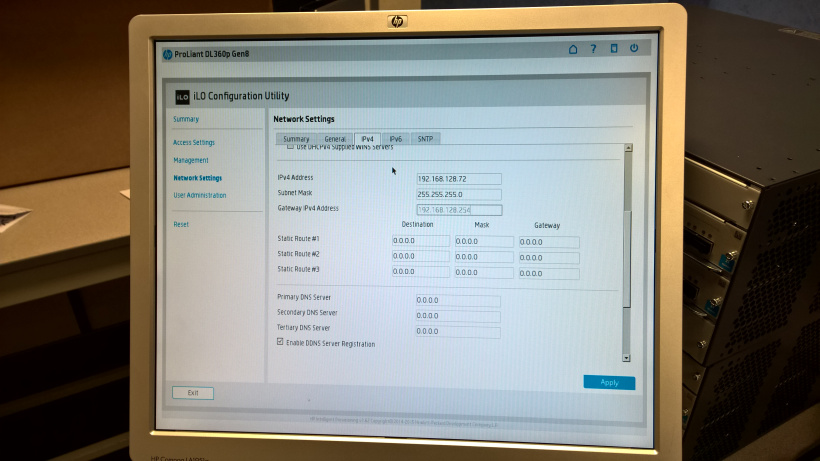
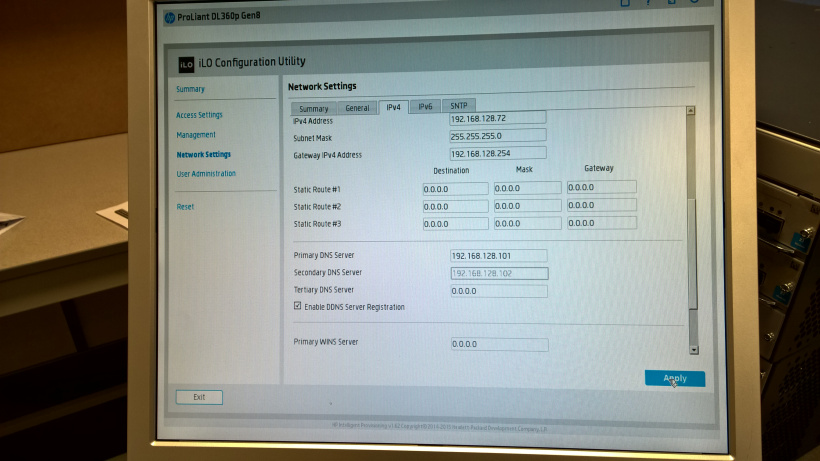
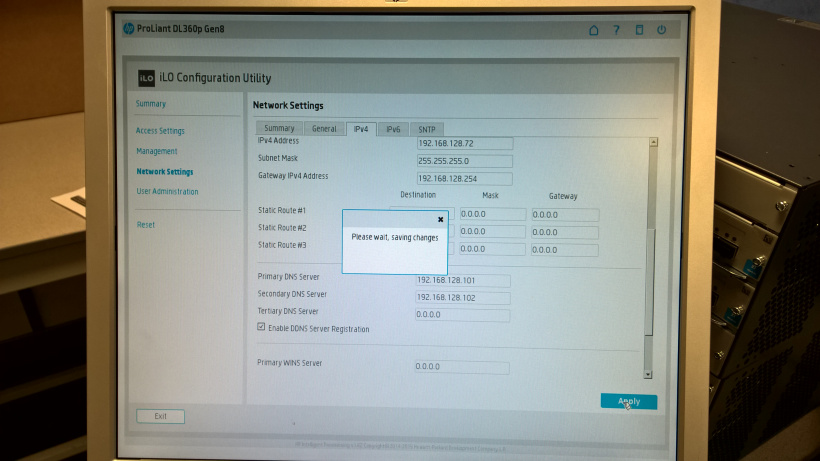
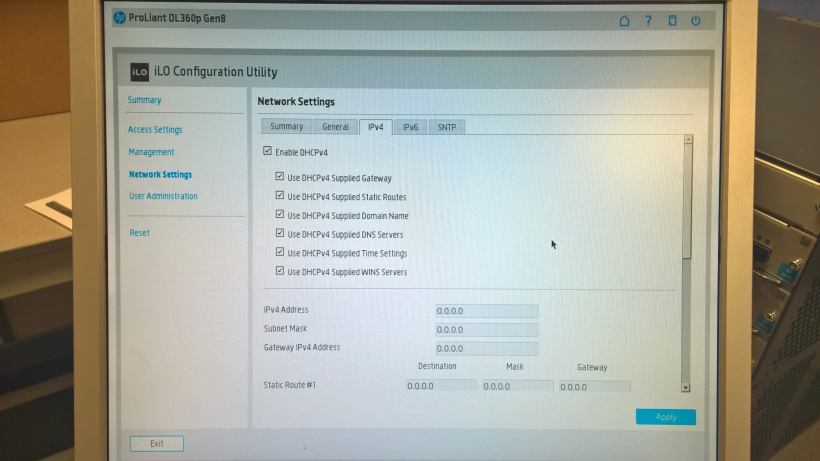
But note that after setting the IP and hostname, it might appear as if it’s reset itself! It hasn’t, reboot the server and your iLO will be reachable.
Connect onto your node’s iLO and fire up the remote console:
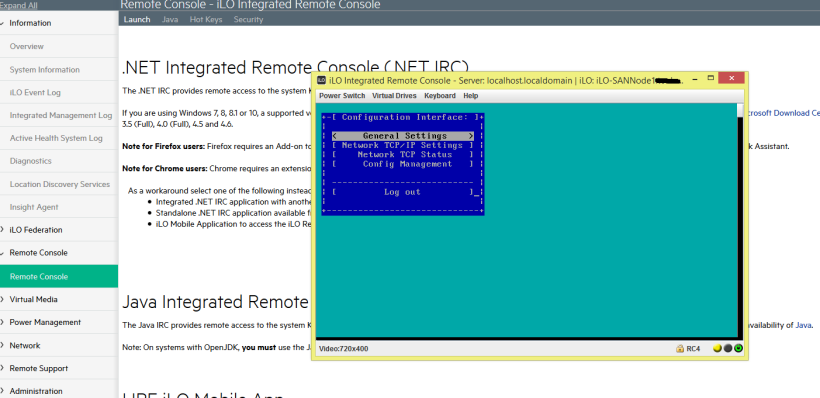
Type ‘start’:
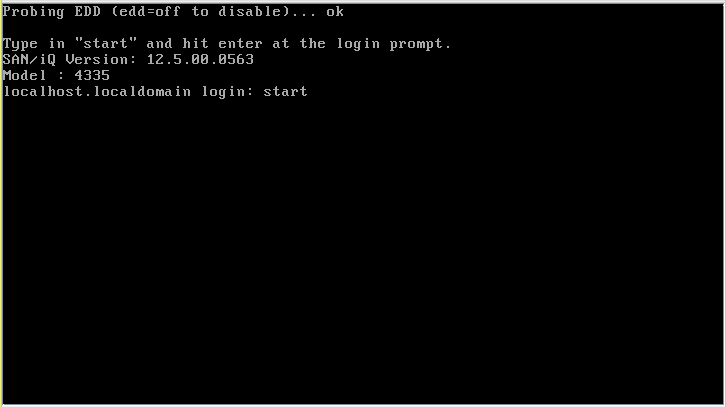
Once you’re in, you’ll be presented with the node’s fairly archaic-looking OS. There’s only a few options available, but for quick configuration we’ll go straight for Network TCP/IP Settings:

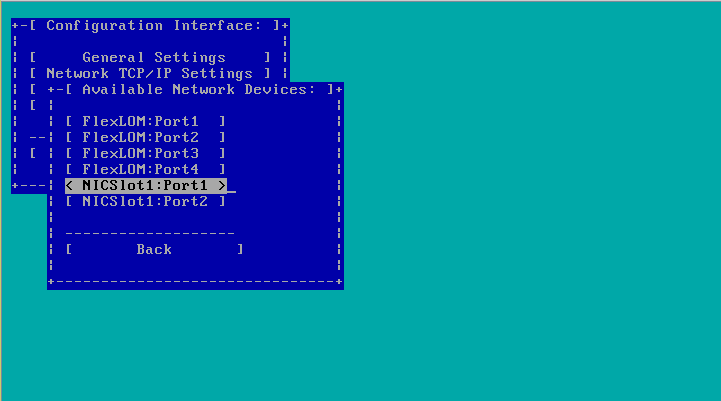
We’re going straight for the NICSlot1:Port1 (which is the first interface of the 10Gb SFP+ NIC:
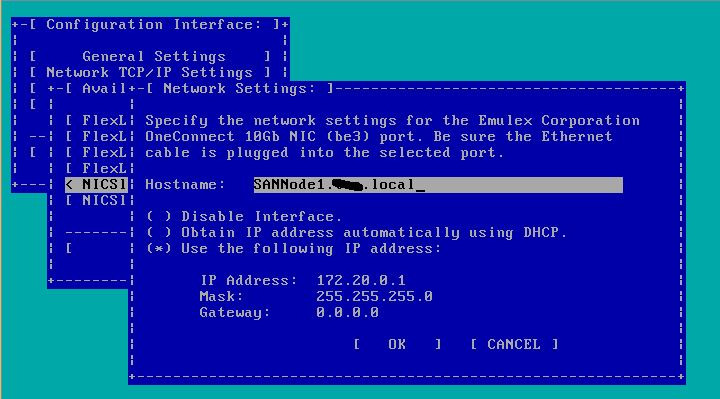
Change the settings of the NIC as below:
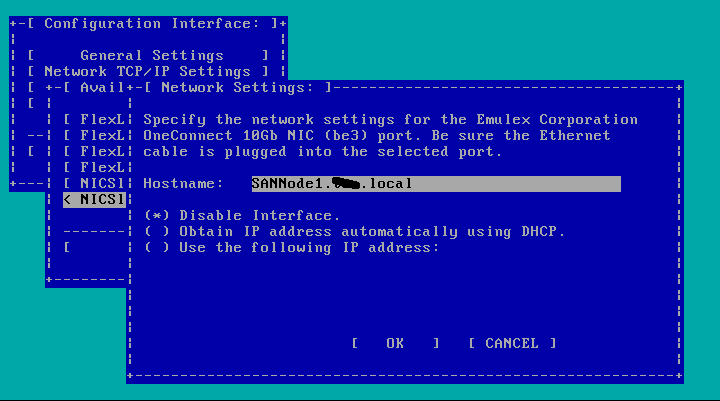
Leave the second NIC disabled – we will enable it when we add the system into HP CMC:
You can then add the nodes into the HP CMC by their IPs.

Leave a Reply