Quite a few things seem to have changed with the VCSA in vSphere 6. The most obvious change is that the appliance is no longer deployed as an OVA / OVF template but rather from an ISO image.
As part of deploying the ISO, you’ll be prompted to put in your settings for the vCenter before it’s even powered on. This can be quite tricky to get right the first time – so make sure you have created the relevant DNS records on your DNS servers and configured your VM network on the chosen host for initial deployment.
Setting up SSO for your Windows Domain is exactly the same, however when ticking the “Use Windows Session Credentials” box you will see the following error:
“Window session credentials cannot be used to log into this server. Enter a user name and password”

There are already various guides which point you to the /etc/nsswitch.conf file. This needs to be edited using VI on the VCSA itself. To do so, open a console to the VCSA and enable SSH and BASH Shell by going to Troubleshooting Mode Options.
Open an SSH session to your appliance using a remote terminal application of your choice (I use good old PuTTY).
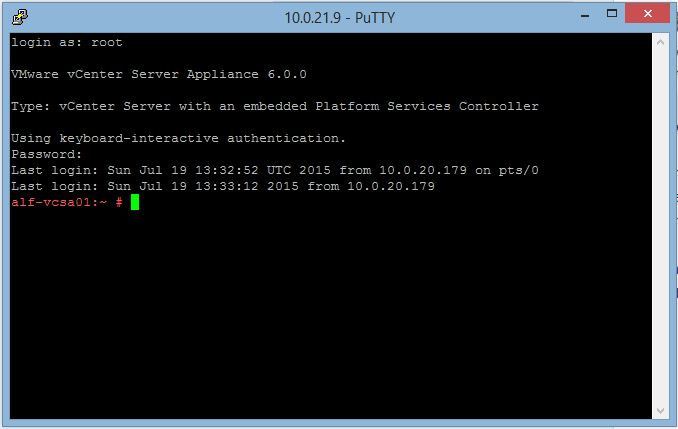
NOTE: If you see Command> on the prompt, you’ll need to move into Shell mode by typing “shell” and pushing enter.
We’re about to edit the nsswitches.conf file – make sure you know how to edit and save changes before you start.
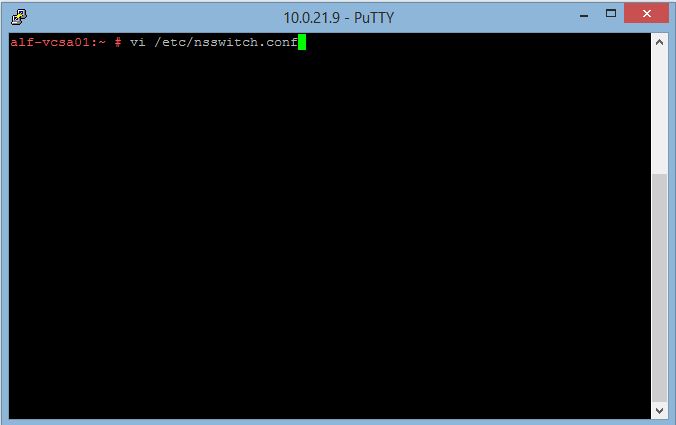
Use the following command to edit the conf file:
vi /etc/nsswitch.conf
Once in the file, push <i> to go into Edit / Insert mode.
At the end of the passwd: compat ato line, add lsass.
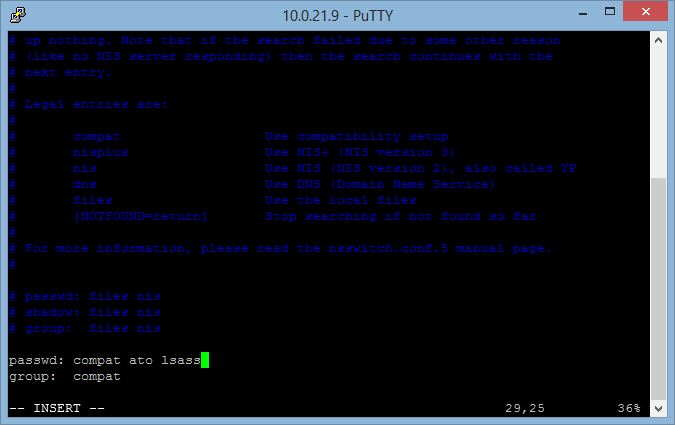
Push ESC to exit Insert mode, then semi colon : to issue your next command. In this case, we want to write changes and exit the file – wq.
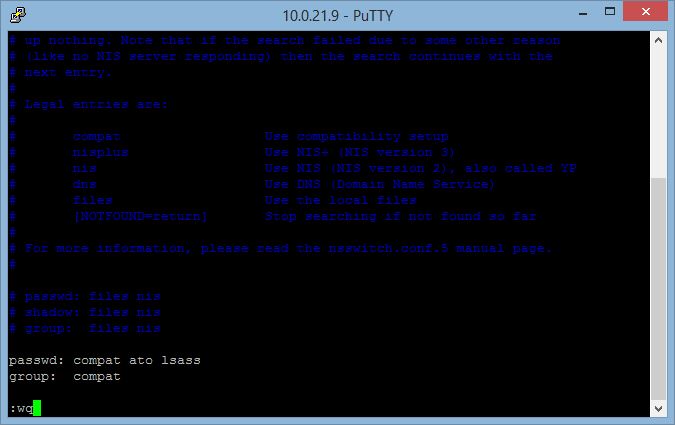
Confusingly – according to VMware, if the word lsass is already present, you should remove it.
At this point, logging into the server using Windows Session Credentials still won’t work. You now need to add the VCSA to the domain, which was previously done from the vCenter Appliance Management Interface (VAMI).
To join the VCSA to the domain, you need to log into the Web Client (https:// [VCSA IP or hostname]/vsphere-client
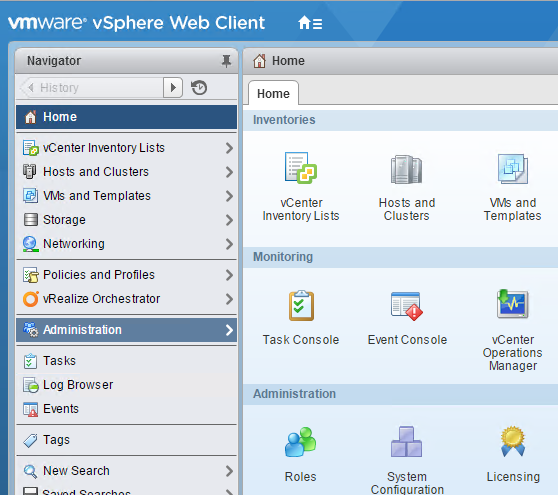
Go to Administration from the home page:
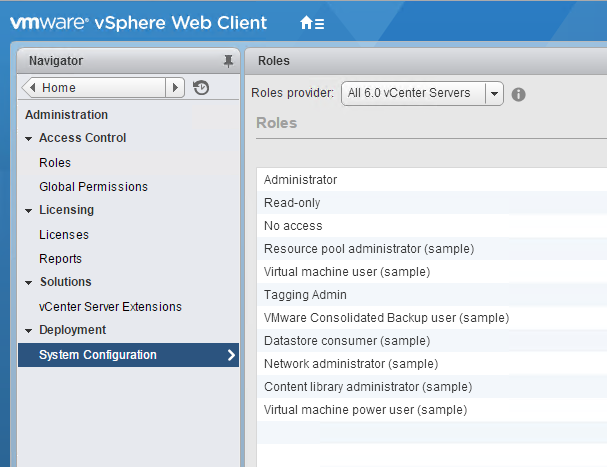
Go to System Configuration:
Click Nodes -> Choose your VCSA, click Manage and then Active Directory:
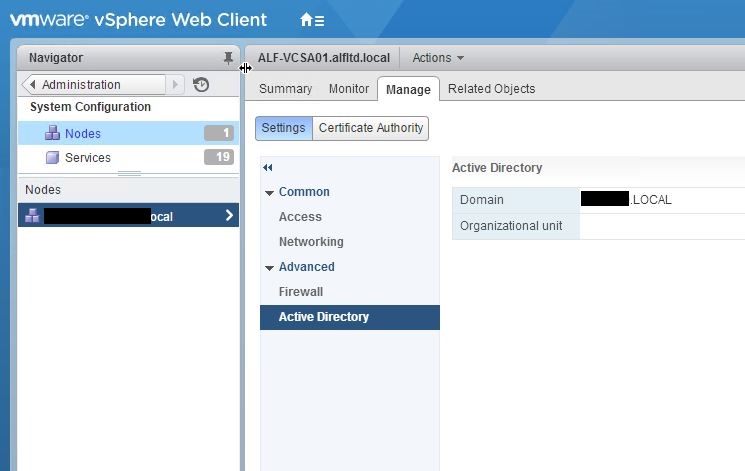
On the right, you’ll see you can either Join or Leave a domain, note mine is greyed out as the VCSA has already joined the domain:
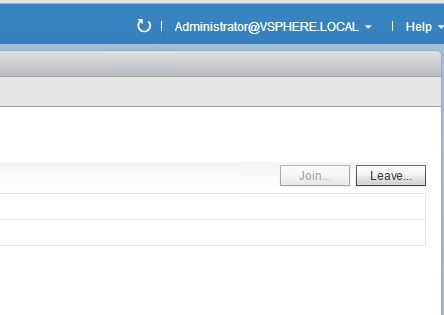
Once done, you’ll need to reboot your appliance for the changes to take effect.
You will now be able to log onto the vCenter using Windows Session credentials, provided the account you’re using has permissions to access the vCenter.

Leave a Reply