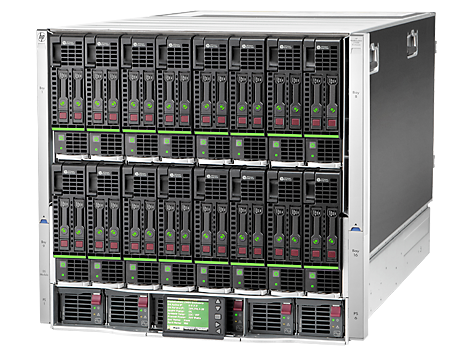
I recently installed some HP ProLiant BL460c blades into a C7000 chassis.
First task was to unbox the blades and install the mezzanine cards:
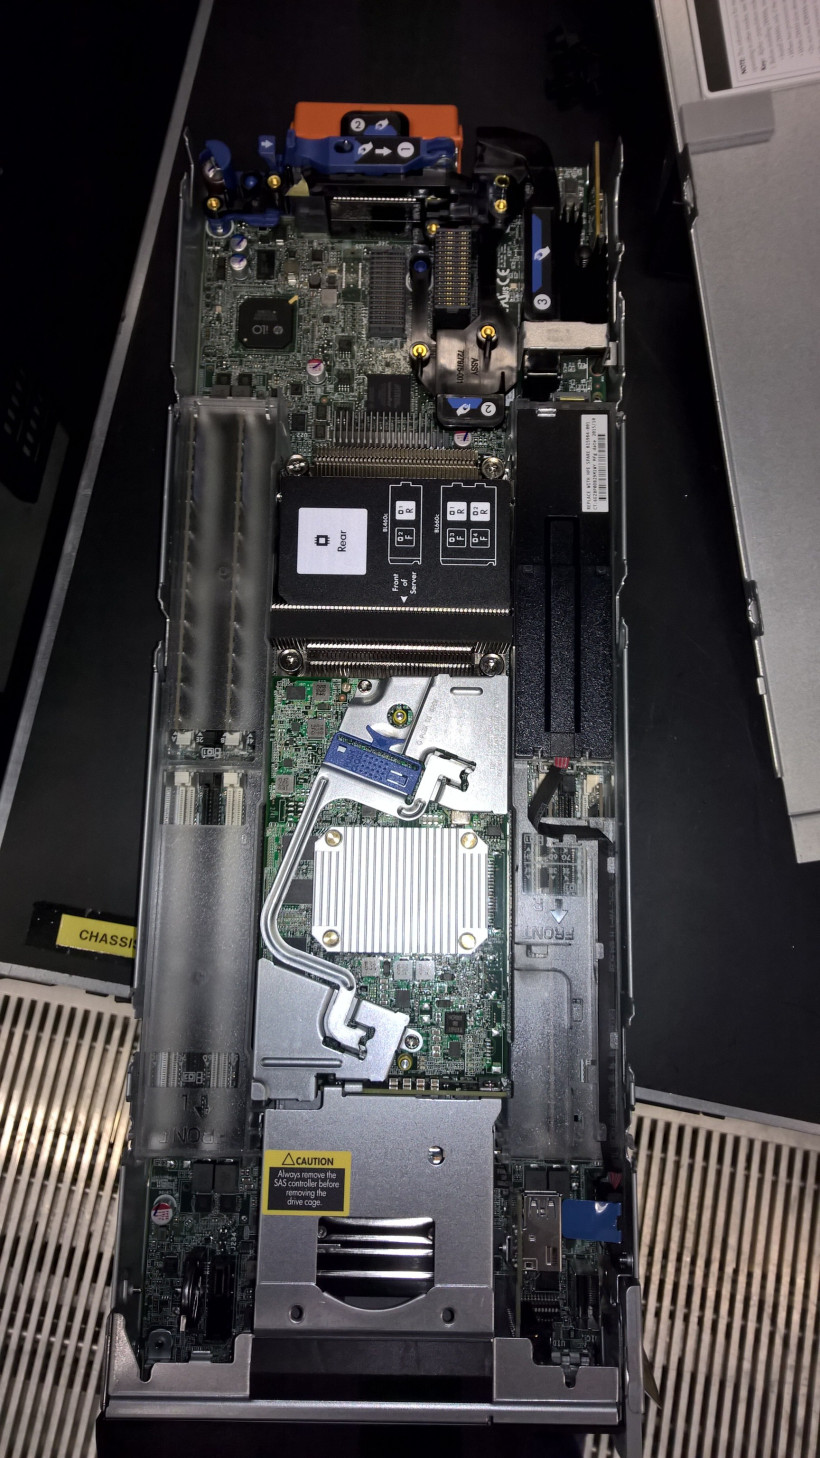
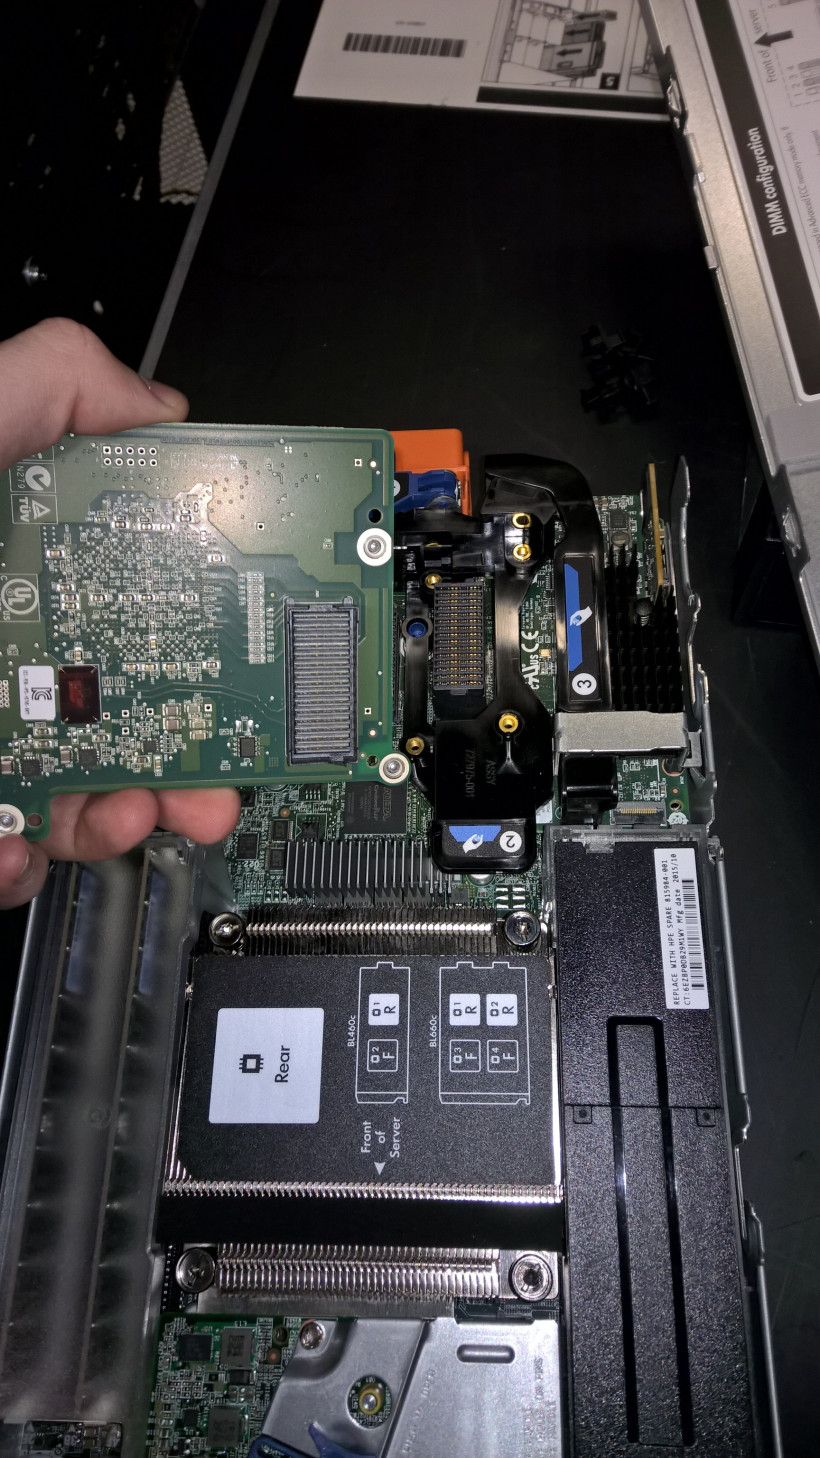
The position of your card depends on which slots you’ve populated at the back. There are 8 slots at the back for your networking, whether you’re using ethernet or fibre cards. Make sure you install the mezzanine card into the corresponding slot, in my case it’s into slot 2.
Note – because these are only half-height blades, they only have 2 mezzanine slots each. Full-height blades will have 3.
Here’s a guide on port mapping: http://virtualkenneth.com/2012/11/26/understanding-hp-virtual-connect-flexfabric-mappings-with-vmware-vsphere/
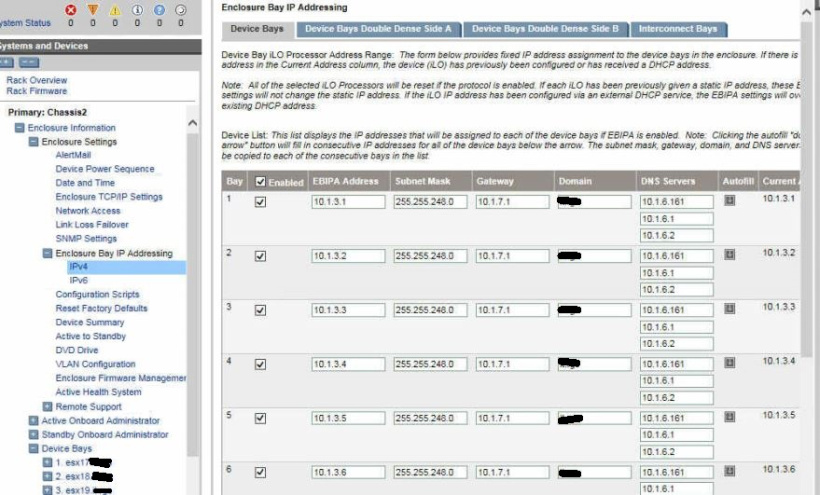
Please note that your blades will get their iLO settings from the blade chassis Enclosure Bay IP Addressing configuration, which can be found here:
Make sure your chassis firmware is updated – in this case we’re inserting new blades into an older chassis. If the firmware doesn’t recognise the blade, it’s a no-go from the start!
Once your blades are in the chassis, it’s time to configure its networking. In my case, the networks have already been previously added so it’s just a case of assigning the Bay to a new Server profile and mapping the networks to the profile:
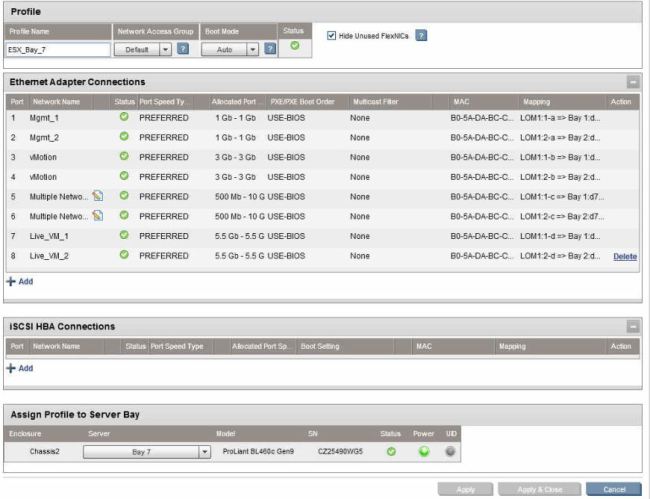
Ethernet Networks are configured separately, but it’s as simple as creating a network and assigning it to an uplink (provided it’s patched into something!). Speeds can be set in increments of 100Mbps on shared adapters. In this case, Mgmt is using a set of 1Gbps RJ45 adapters with the rest of the networks using pairs of DAC SFP+ uplinks for a total of 40Gbps per interconnect bay. Each blade will see dual 10Gbps adapters (and a dual port FC cards in my case), however bandwidth is ultimately shared by its cousins in the chassis.
Now that our networking is configured, we can go ahead and install ESXi.
First of all, we need to configure our storage (if using local disks that is) – but you can also install ESXi onto a RAID 1 USB flash disk or normal SD card – the BL460c has both as standard.
We don’t actually need to browse to our iLO, we can access the console directly from the OA.
Run Intelligent Provisioning, and then HP SSA just as you would with a normal server:
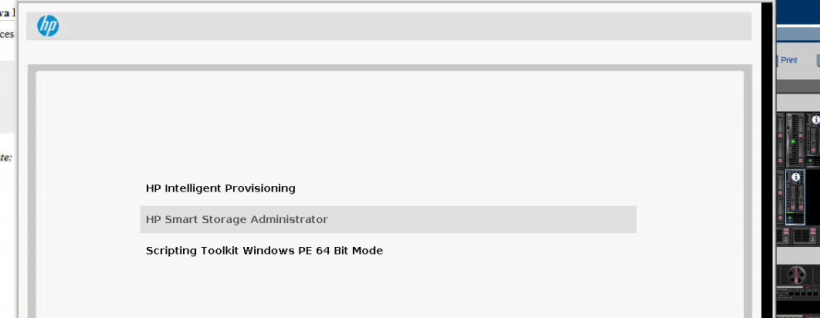
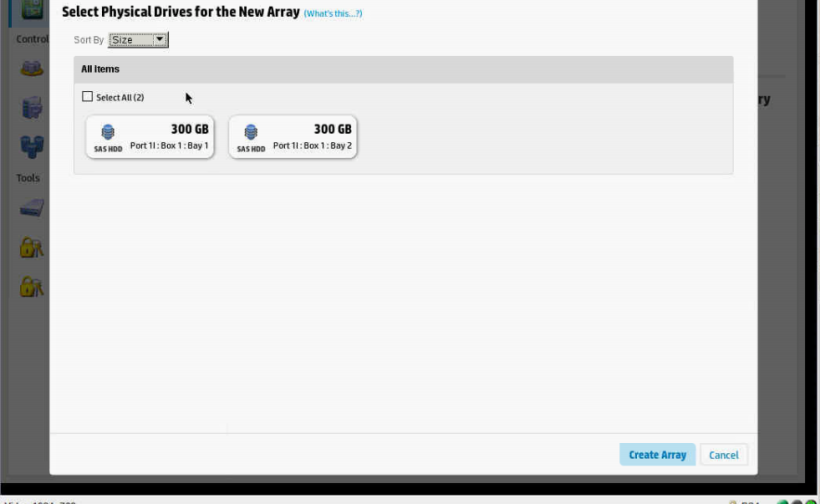
RAID 1 of course, or 0 if you feel like living dangerously.
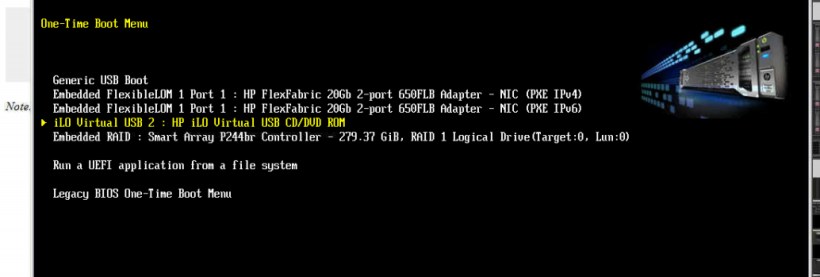
Now reboot the server and choose the Boot Menu (F11).
Make sure you add virtual media before otherwise it won’t show up, and for some reason you can’t refresh the boot menu once you’re there forcing another reboot.

Remember, ALWAYS use the latest custom image – in our case, HP:
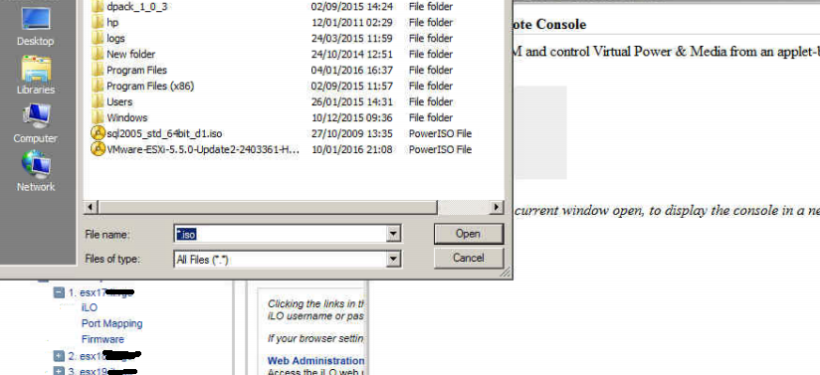
Choose boot source, which should be our virtual CD DVD drive:
ESXi will now start unpacking itself for install:

Install as usual:
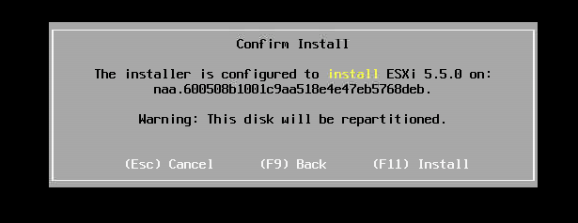
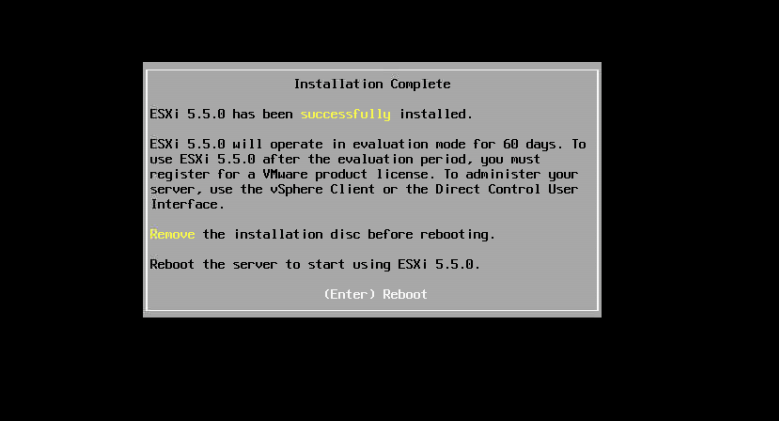
Reboot, remove your .iso and let it boot from disk. The boot order should change itself automatically after one successful boot from disk.
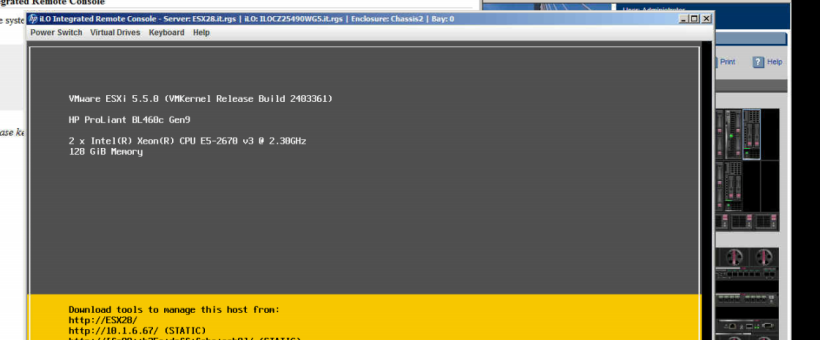
Configure your static IP address from the console and you’ll be good to go!
Add your ESXi host to vCenter and get it configured.
Note that this chassis connects to HP EVA (P6000) FC array, I haven’t included this in the blog today, but again, with Brocade SAN switches it really is simple – log into your SAN switch (I use the GUI), add an alias for your new FC card in each fabric (should be minimum two), add the new alias to a new zone and pair it with your FC SAN targets and add the zone to your running config zone members – save and enable and you’re done! Refresh your HBAs and you should see your storage (make sure you add your ESXi hosts to the storage array too, and present the relevant LUNs).
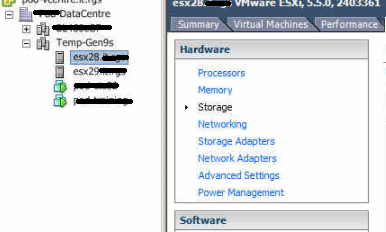
I normally tend to put new hosts into a separate cluster before introducing them to the production cluster. This lets me configure its networking before DRS tries to move VMs (and subsequently freak out) as well as let the server run for a few hours to make sure everything is peachy. Note I’ve already moved some VMs onto the hosts (after configuring my networking).
Since these are newer generation hosts, EVC needed to be enabled on the production cluster.
Before I could add my new hosts to the existing production cluster, I needed to evacuate it and put it into maintenance mode.

Leave a Reply