

In my NSX Lab, I needed a single-node cluster with VSAN enabled beside another normal cluster with three nodes. William Lam has a genius post about how to bootstrap a single-node VSAN cluster to add your vCenter on it in your lab, but unfortunately even though his advice works perfectly when you have a single ESXi host, it does not work well when you already have a vCenter in place.
My story begins from the VSAN Default Storage Policy. This policy enforces that a deployment of VMs needs to have:
- Failures to Tolerate set to 1 (FTT =1 ): That means that the minimum number of nodes has to be 3 nodes and each VM disk has to be configured in RAID-1.
- Number of disk stripes=1: This means that each disk will have a single stripe.
This means that if you want to deploy a single-node VSAN host you will have to change the default VSAN Policy. You will have to set FTT =0 or to enable ‘Force Provisioning’.
In my lab, I already had three clusters under my vCenter:
- MGMT and Comp01, both with 3 nodes
- Comp02 which is a single-node cluster and which is the main reason for this blog post.
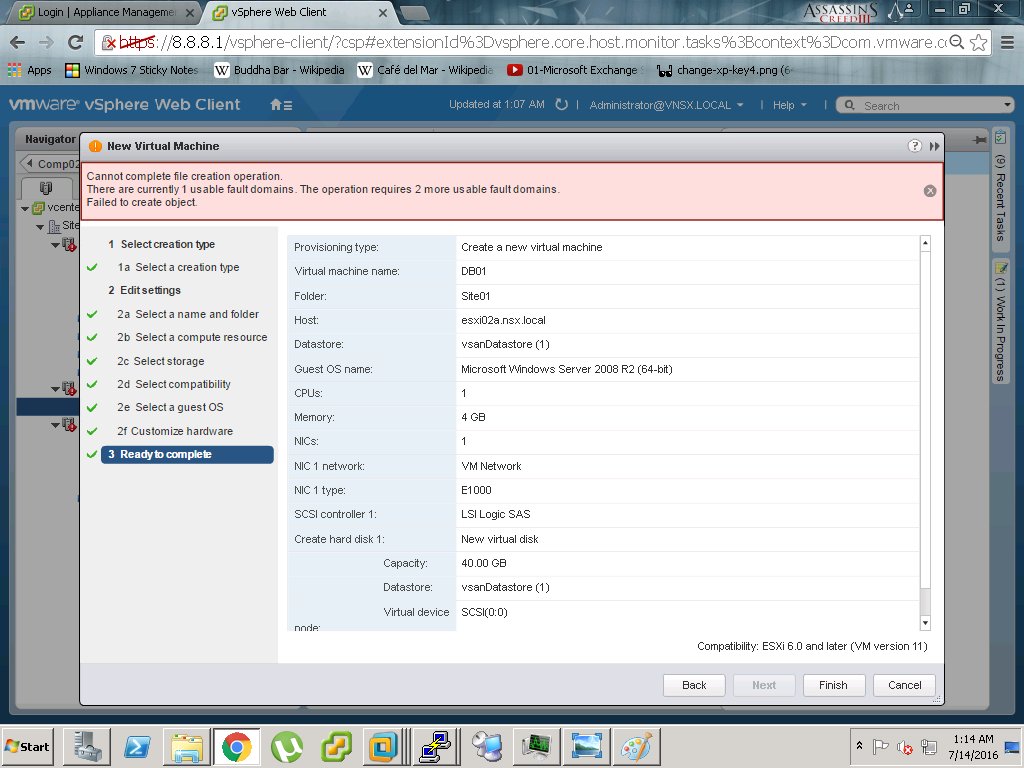
When I followed William’s post to enable VSAN on Comp02 and tried to create VMs, I got stuck at the following error:
After a brief discussion with William Lam, he pointed me in the correct direction.
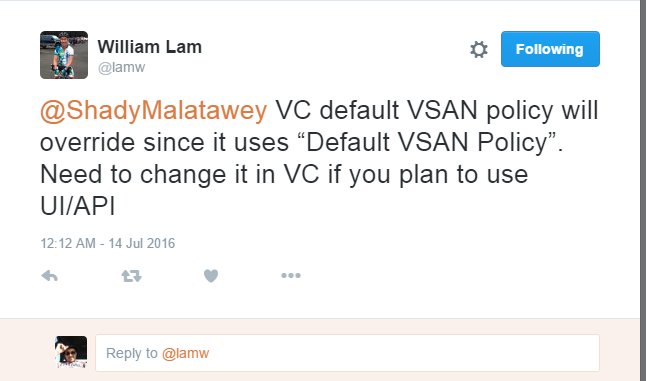
When you use a vCenter server and create clusters, vCenter becomes the pivotal point for VSAN as it enables the VSAN Storage Default Policy. This means that even if you change the default VSAN Policy on an ESXi host the vCenter VSAN Default Storage Policy will override. To enable single-node VSAN Cluster you have to edit your VSAN Storage Default Policy. This should be easy when using GUI, but in my case this does not solve my problem. I have 3 clusters and I wanted MGMT and Comp01 to still use the VSAN Storage Default Policy but I wanted Comp02 to follow a different VSAN Default Storage Policy one. The solution was to edit this on the Comp02 cluster by using the Ruby vSphere Client (RVC).
I followed the next procedures:
- Enabled SSH on my vCenter Appliance and logged in using root.
- Enabled Shell on my vCenter using shell.set –enabled=true.
- Entered Shell Mode using shell.
- Entered RVC using rvc.
- Entered my administrator account credentials. In my case it was administrator@vsphere.local and its password. I used administrator@vSphere.local@IP_of_vCenter.
- I browsed down from localhost> datacenter> computers, then I listed down my clusters using ls command.
- I edited the default policy on Comp02 using vsan.set_cluster_default_policy Cluster_ID_in_previous_listing “((\”hostFailuresToTolerate\” i1) (\”forceProvisioning\” i1))”.
- To confirm, I returned back to my single ESXi Host in Comp02, restarted its services using services.sh restart, then I brought up the default VSAN policy on it using esxcli vsan policy getdefault.
Once I returned back to Web Client and created a VM on that Host using VSAN datastore, it completed successfully.
Another Workaround:
You can also create another Storage Policy copied from VSAN Default Storage Policy, but with Force Provisioning enabled. In Create a VM wizard, while choosing VSAN Datastore on that single-node clutser, you can choose the new policy and it should complete successfully. I haven’t tried that personally, but it should work.
References:
Leave a Reply